Absence makes the heart grow fonder, and boy, have we missed all of you! We’ve been cooking up something big and it just didn’t seem right to give you little teasers when our end goal was just within finger’s reach. We’ve been collecting more materials from Home Depot and cutting more tiny little foam pieces. We’ve been working separately and together; trying to accommodate each other’s evenings all the while making progress. We’re really proud to give you this picture.

But fear not! We’re not going to stop at simply showing you a picture. No! We’ll fill you in on exactly how we got here. Wouldn’t want you to miss out on all the fun!
If you’ll think back two weeks ago, we’d left Eleanor Lamb‘s helmet at the papier-mâché phase. The helmet and the harness were each connected to their own wooden circle base but before we could join them, we needed to divide and conquer. With a horror movie remake marathon on TV, Daniel and I settled in for a work filled Saturday night.


First things first; the porthole. We bought a closet flange spacer ring for the actual porthole and a sealing ring to use for the inner ring but, when we set everything out, we found that it would be easier to use the ring as a stencil and cut the whole thing out of craft foam.
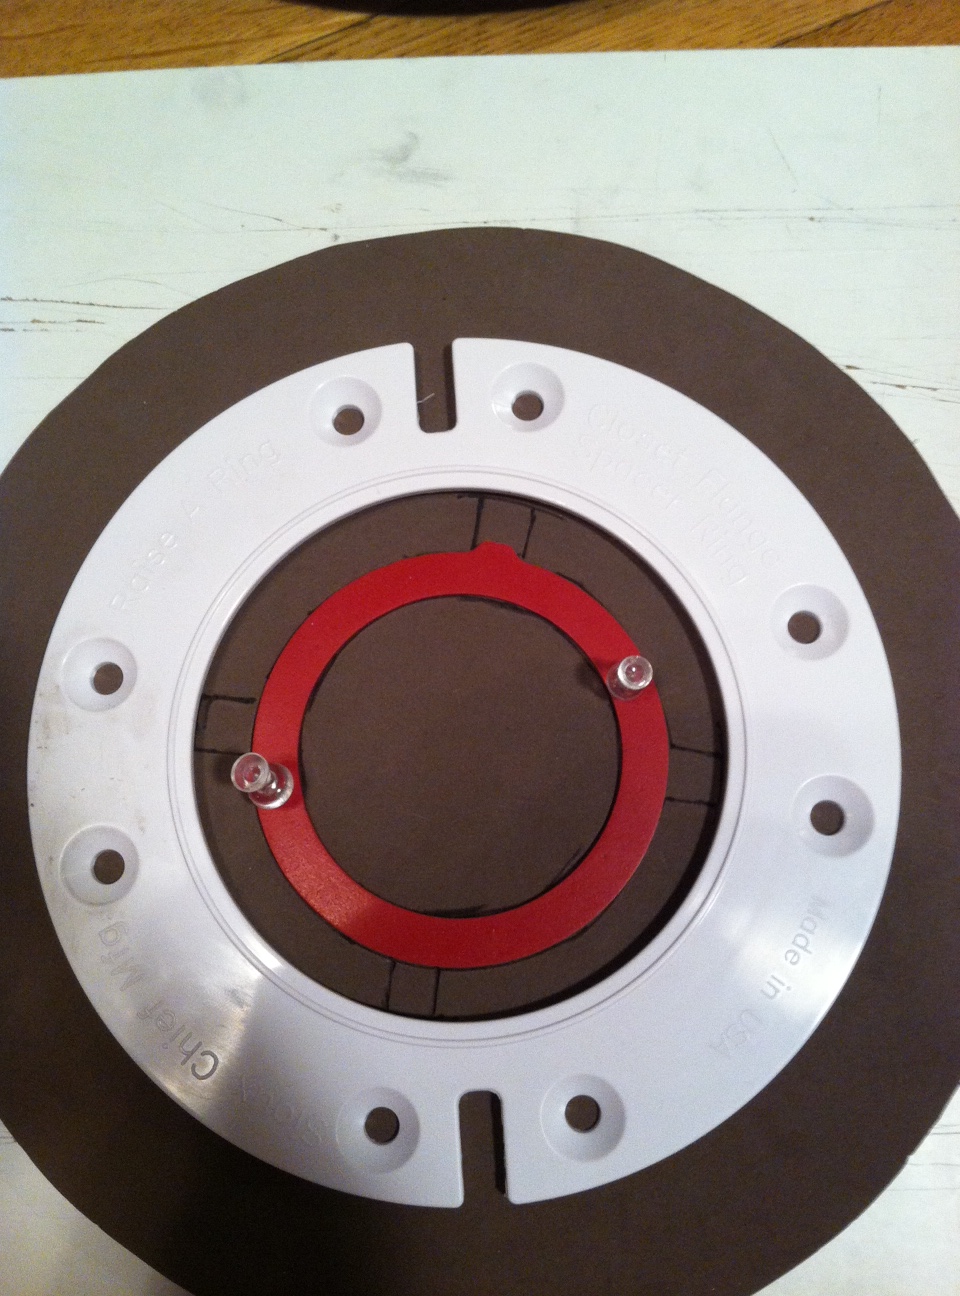

Then it was just a matter of hot gluing the foam into the spacer ring and we had our completed port-hole. As Daniel traced the shape of the porthole onto the papier-mâché sphere I asked him if he was having flashbacks to the last helmet he punctured and he said that it’s easier the second time. And sure enough it was. He didn’t even ask me to mute the TV as he worked. What a steady hand one helmet’s worth of confidence can give you!

Now to screw the porthole into the actual helmet. Our first attempt was off. Seems we need different lengths of screws to get a flat item onto the surface of a round item; duh! Luckily we had a few longer screws left over from the handles that wound up on the back of Subject Delta’s helmet. Just a few screws and we had ourselves a lovely looking porthole for Eleanor Lamb’s helmet.
 You’ll notice the little black knob up Daniel’s left arm, his left, your right. That is a bit of flexible PVC pipe coupling we found at Home Depot. If you’ll check out the reference photo again you’ll notice what looks like a knob on the top of her helmet and the coupling was already close to the shape we needed. We trimmed some off the top and bottom, paired it with another PVC ring and we were just about ready to put it on the helmet.


Daniel drilled yet another hole into the helmet, just big enough for the bottom piece of PVC. Then we sealed the top and bottom with hot glue. Next, we added a bottom layer of foam and we were ready for the fun part; the ribbed tubing that runs around the front and top port-holes. We used some flex tubing and, after a fun little game of tug-o-war, it was ready to stretch out and loop over the helmet. Daniel secured it with heaps of hot glue and this is what we ended up with; a handy-dandy way to cover up those pesky screws.

Believe or not; that’s only Daniel’s part of the work from that Saturday night! There’s much more to come! See you next time — TCG
Oh. Did I mention that C2E2 tickets go on sale this week? Color me excited!


The helmets look amazing!
Thanks! We’ve been working really hard on them. I think Eleanor Lamb’s helmet turned out even better than we expected it to!